Google Chrome is currently the most popular web browser. Its market share has shown incredible growth because the browser offers great performance and stability and is updated often.
Plus it is used on both desktop and mobile devices. So, in this article we explain how to install Google Chrome on Ubuntu 20.04 system.

Install Google Chrome on Ubuntu
Chrome is not an open-source browser, and it is not included in the standard Ubuntu repositories. When you try to install Google Chrome on Ubuntu you can’t find this software on Ubuntu Software Store. It probably recommended you to install Chromium browser.
There are two method to install Google chrome on Ubuntu System:
Installing Google Chrome on Ubuntu Via Command-Line Interface [1st Method]
Since we are working on Linux distribution and most of the Linux users prefers terminal so, we choose the CLI method as 1st.
Perform the following steps in your terminal to install Google Chrome on your Ubuntu system:
1. Download Google Chrome
Open your terminal from Show application → Click Terminal Icon or using Ctrl+Alt+T keyboard shortcut.
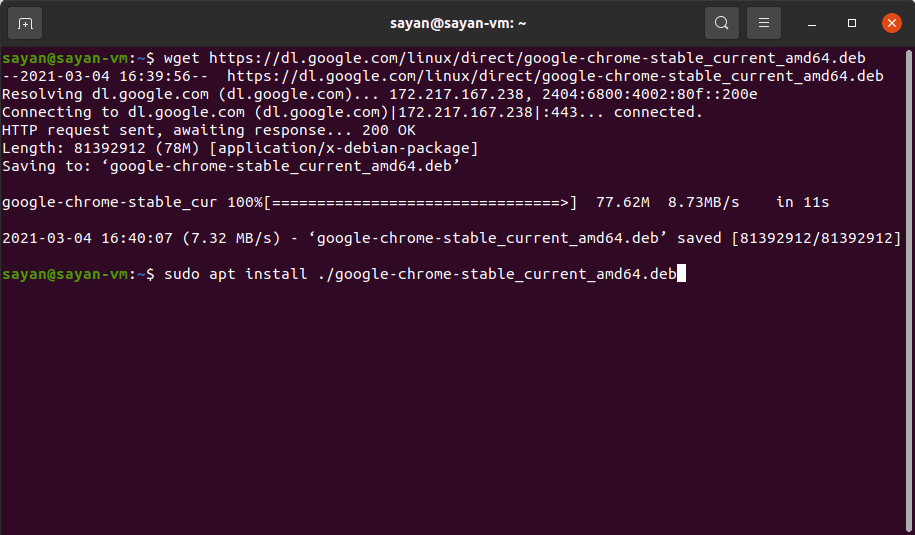
We are use wget to download Google Chrome .deb packages for Ubuntu 20.04 from Google’s official repository.
$ wget https://dl.google.com/linux/direct/google-chrome-stable_current_amd64.deb2. Installing Google Chrome
To Install Google Chrome on Ubuntu system we need administrative privileges. You can run any one of these commands as a user with sudo privileges to install Chrome .deb package on your system.
$ sudo apt install ./google-chrome-stable_current_amd64.debor
$ sudo dpkg -i google-chrome-stable_current_amd64.debWhen prompted, enter your user password, and the installation will start. That’s it. Now you can find Google Chrome in the menu and start it from there.
Install Google Chrome on Ubuntu Via Graphical User Interface [2nd Method]
If you are a beginner in Linux or Ubuntu and want to know how to install Chrome graphically? You can install Google Chrome on your Ubuntu system by following these steps.
Before install Chrome keep in mind Google Chrome is not available in 32-bit operating systems. So, make sure you are using a 64-bit operating system.
1. Downloading Google Chrome
You need an internet connection and a browser to download Google Chrome. You can use Mozilla Firefox which is the default browser for Ubuntu 20.04
Open any browser (Here we are using Mozilla Firefox) and browse this link: https://www.google.com/chrome/ or click on the download button.
After clicking the button or browse the link you landed on Google Chrome’s official download page then click on the download chrome button.

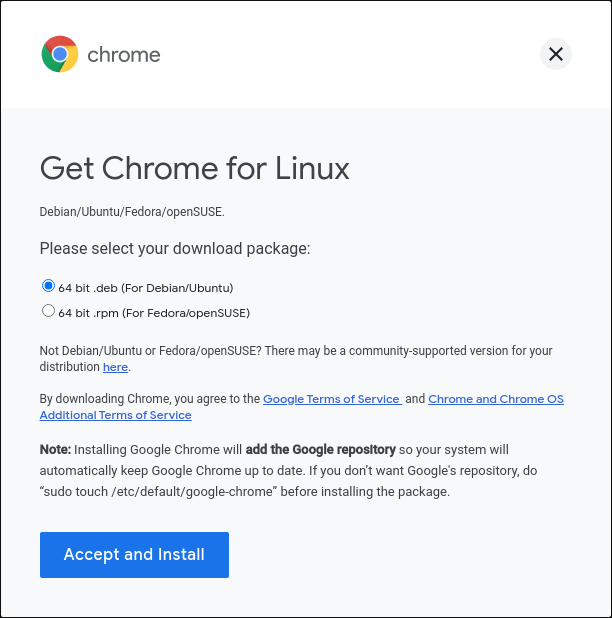
Now a popup window appears it gives two options for downloading files. You have to choose the .deb file which is suitable for Ubuntu and click on Accept and Install button
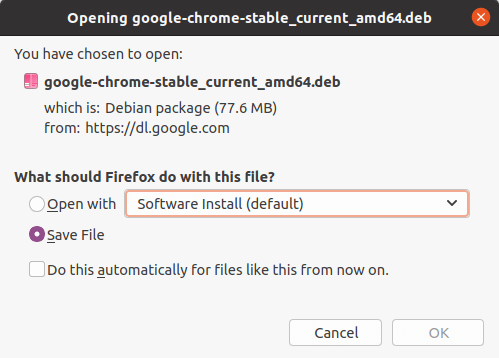
In the next screen, you should opt for saving the file to the computer instead of opening it in software center for installation.
2. Install Google Chrome in Ubuntu
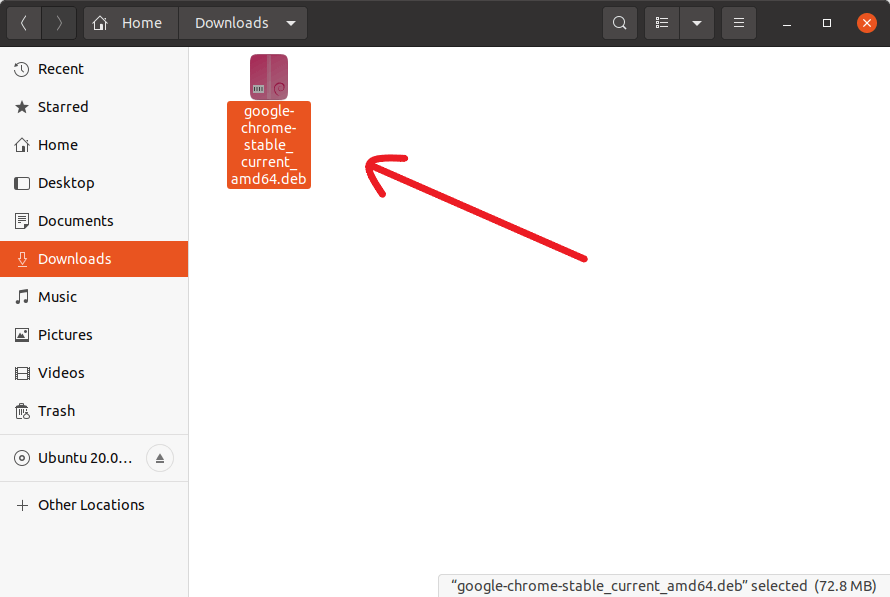
Now go to your download folder and find google-chrome-stable_current_amd64.deb packages, Select this file, right-click on it and choose Open With Software Install or you can double click on this package like Windows software installation.
It will then open Ubuntu’s software center and you should see an option for installing Google Chrome now. Hit on the install button.
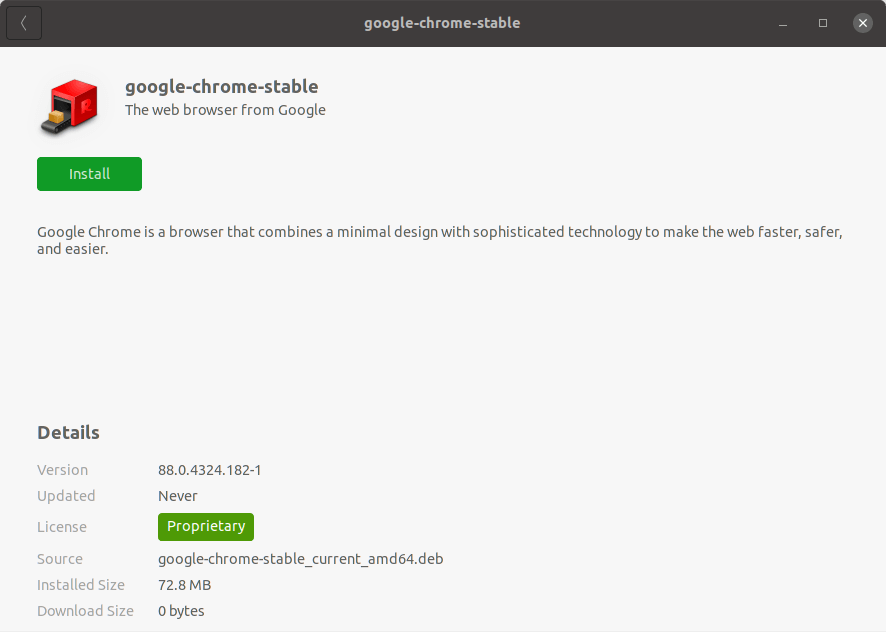
It will ask for your password before starting the installation. You should enter your account’s password. It should take less than a minute for completing the Google Chrome installation.
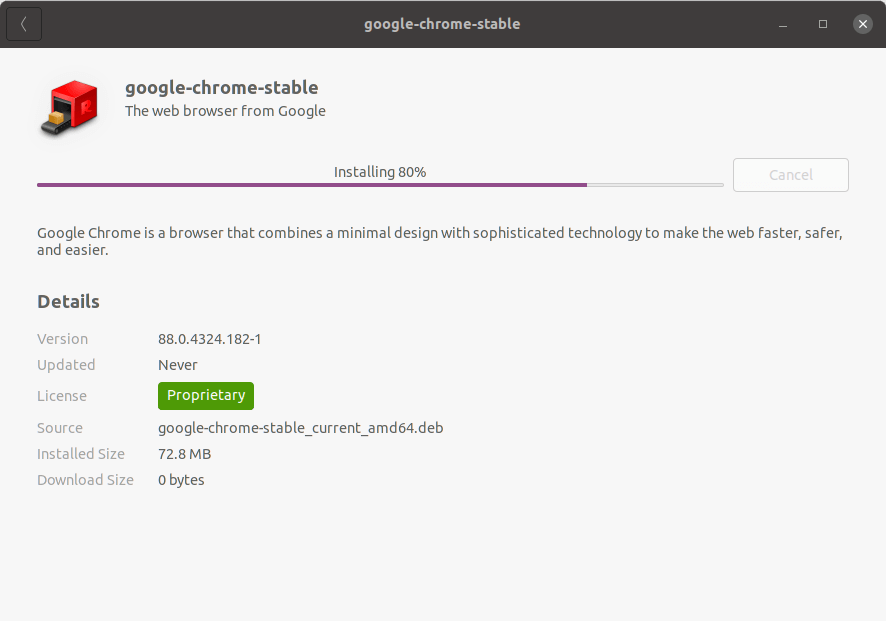
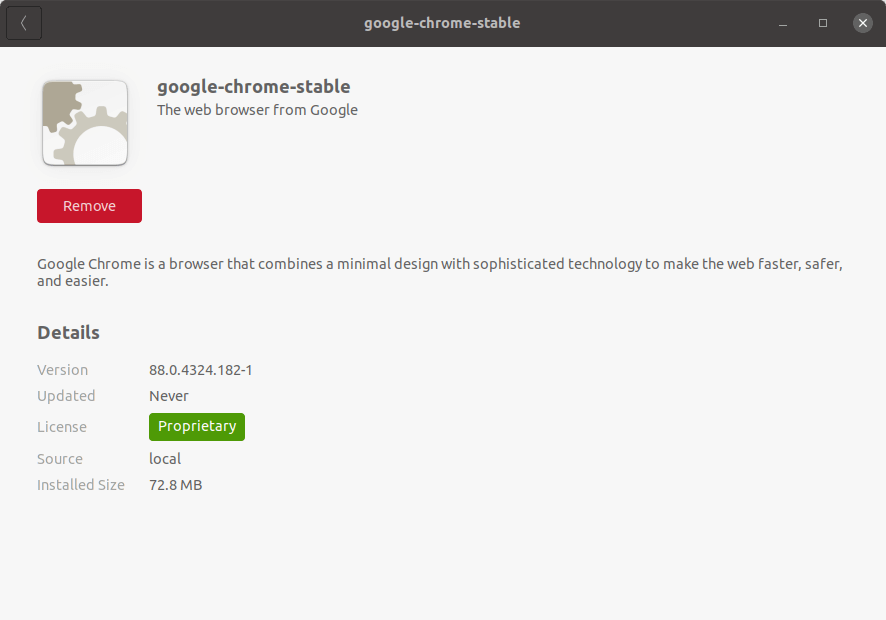
Now, you should see a red remove button on your current window which indicates that Google Chrome is installed successfully in your Ubuntu system.
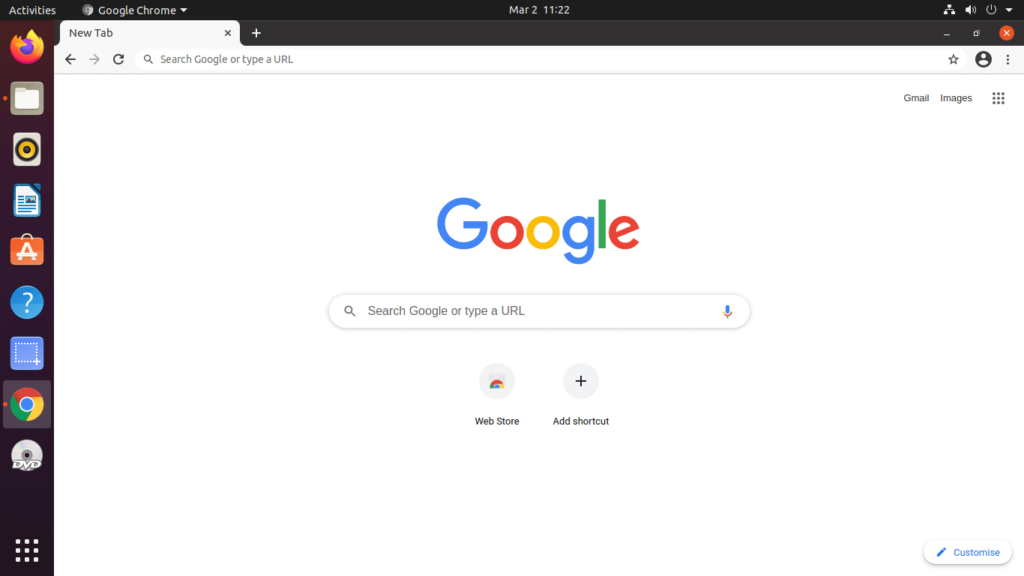
Now go to the Show application → Search Chrome → Click on the Google Chrome icon or simply press the Windows key from your keyboard and type Chrome to launch Chrome in your Ubuntu system.
3. Updating Google Chrome
During the installation process, the official Google repository will be added to your Ubuntu system that means Google Chrome will be automatically updated when a new version is released. You can use the cat command to verify the file contents:
$ cat /etc/apt/sources.list.d/google-chrome.listOutput like this:
### THIS FILE IS AUTOMATICALLY CONFIGURED ###
# You may comment out this entry, but any other modifications may be lost.
deb [arch=amd64] http://dl.google.com/linux/chrome/deb/ stable main
Conclusion
Here we show a complete step-by-step screenshot guide for beginners to shows how to install Google Chrome on Ubuntu 20.04. Learn both the GUI and command-line (CLI) methods.
I hope this written tutorial is helped you to get Chrome on your Ubuntu system.
If you liked this article, please share it with your friends. If you have any doubts about this topic you can contact me or put comments on this post.


Hey Sayan,
Ubuntu is a big data structure. Thanks for your coding. openly says I don’t have coding knowledge it would be really useful while I am working at ubuntu.